Rotted wood siding not only diminishes the aesthetic appeal of your home but also undermines its structural integrity. This guide will help you learn when and how to replace rotted wood siding, ensuring that your home remains beautiful and well-protected against the elements. Follow these steps to effectively restore your home’s exterior and boost its resilience to weather and decay.
Recognizing the Need for Replacement
Signs of Rotted Wood Siding
Before you start replacing any wood siding, it’s crucial to determine the extent of the damage. Some common indicators of rot include:
- Visible Decay: Wood that has softened, crumbled, or shows signs of fungal growth needs replacement.
- Warped Boards: Boards that are misshapen or no longer lie flat against the house structure are often rotted.
- Cracks and Gaps: These allow moisture to penetrate deeper into the wood, exacerbating the rot.
- Peeling Paint: Paint that peels or blisters often conceals rot underneath.
Assessing the Damage
Sometimes, the damage might be surface-level and can be remedied with simple repairs. However, extensive rot covering large areas or affecting structural supports indicates a need for full siding replacement.
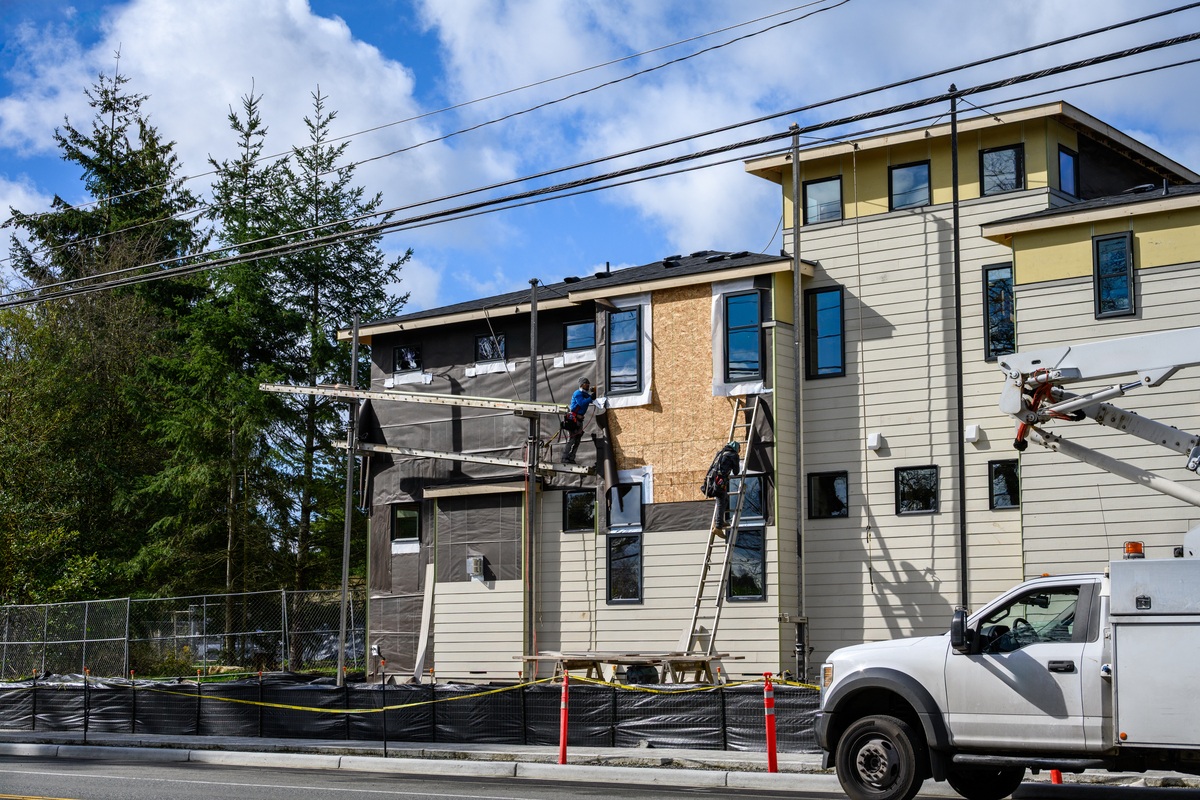
Steps to Replace Rotted Wood Siding
Step 1: Remove the Damaged Siding
Carefully remove the rotted siding without damaging the surrounding materials. Use a pry bar and hammer to gently pull the siding away. It’s important to check the underlying layers for any signs of damage or rot that might also need attention.
Step 2: Prepare the Area
Once the rotted siding is removed, clean the exposed area thoroughly, removing all debris and nails. This provides a clean, flat surface for installing new siding.
Step 3: Measure and Cut New Siding
Measure the gap left by the old siding and cut your new wood to fit. Ensure that your new siding matches the existing material in style and thickness for a seamless look.
Step 4: Install New Siding
Position the new siding piece and secure it in place using galvanized nails or screws. It’s crucial to ensure that the new siding aligns properly with the existing panels to prevent any gaps or misalignment.
Step 5: Seal and Finish
Apply caulk around the edges of the new siding to seal any gaps, preventing moisture from entering. Once the caulk has dried, apply primer and paint to match the rest of your siding, providing a uniform appearance and additional protection from the elements.
Maintenance Tips to Prevent Future Rot
- Regular Inspection: Check your siding annually for signs of damage or rot, especially after harsh weather conditions.
- Proper Sealing: Ensure that all seams, joints, and edges are properly sealed to keep out moisture.
- Prompt Repairs: Address minor damages and issues promptly to prevent them from evolving into more significant problems.
- Good Ventilation: Ensure your home has adequate ventilation to prevent moisture buildup, which can lead to rot.
In Summary
Replacing rotted wood siding is a crucial maintenance task that preserves the integrity and beauty of your home. By following these step-by-step instructions, you can ensure that your home remains sturdy and attractive. If you encounter extensive damage or feel unsure about doing the repairs yourself, don’t hesitate to contact us for professional help.